Have you ever been in a, let’s say, messy situation, you don’t know what to do, and panic begins to creep in. Maybe you’re at a friend’s house, it was an emergency at a party, or you could just be at home with nobody to help. You begin looking around frantically, and just when you’re about to give up, you finally find it: the almighty plunger. You’ve never been so happy to see rubber attached to a stick. You grab it, then natural instinct starts to kick in and you start going to work. Your jubilation is short lived: the plunger isn’t working. If anything, the plunger is making the situation worse. You feel that anxiety crawl into your mind again. “What do I do now?”
We’ve all been there. This article is for when that final feeling of desperation and uncertainty hit you.
The good news is that most “plunger not working” situations come down to one of three things: the wrong type of plunger, a poor seal, or a clog that is farther down the pipe than a plunger can realistically move. Before you give up or reach for a chemical product, make sure you are using the tool correctly and watch for signs that the problem is bigger than one fixture.
For the full decision tree by drain type, visit HomeFlash’s complete guide on how to unclog a drain.
Before you grab a second tool or something stronger from under the sink, snap a photo in HomeFlash. We'll tell you if the plunger failed because of technique, or because this was never a plunger problem to begin with.
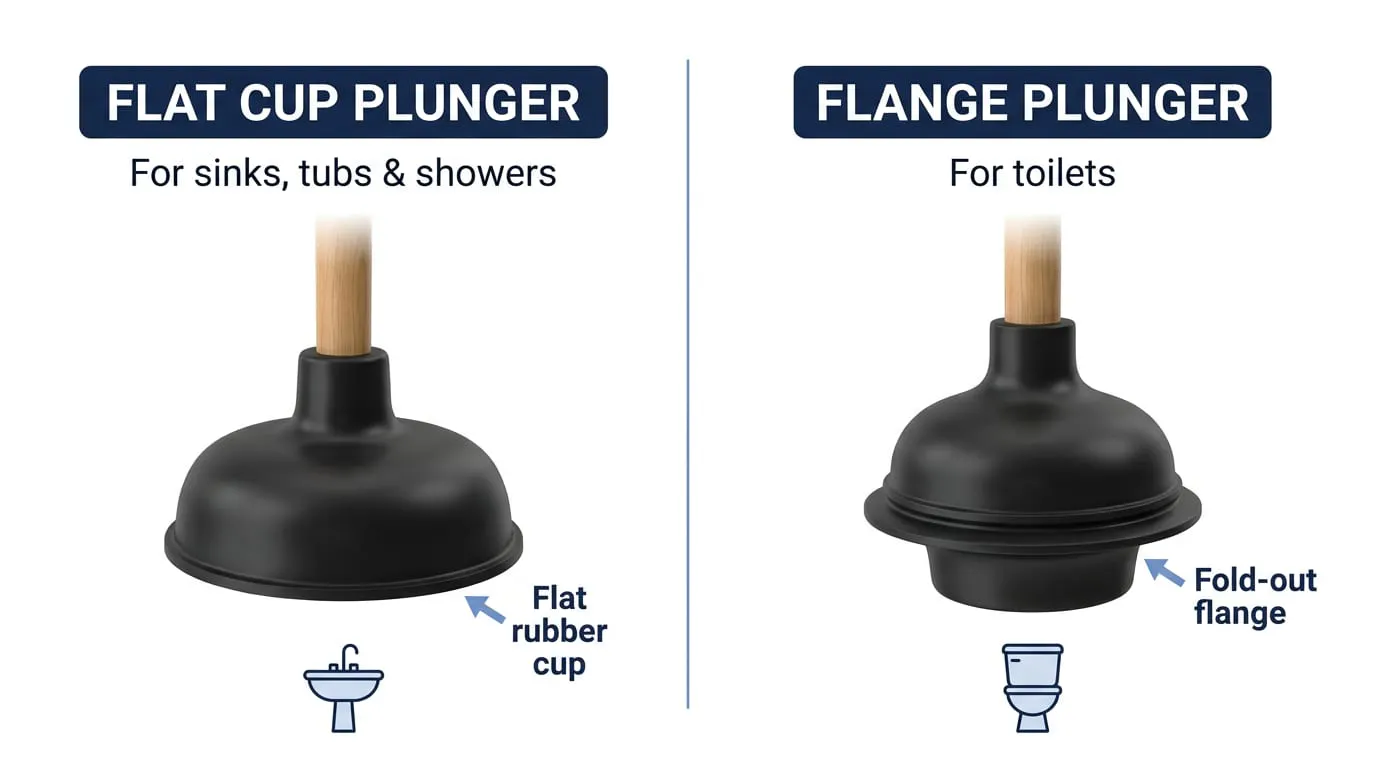
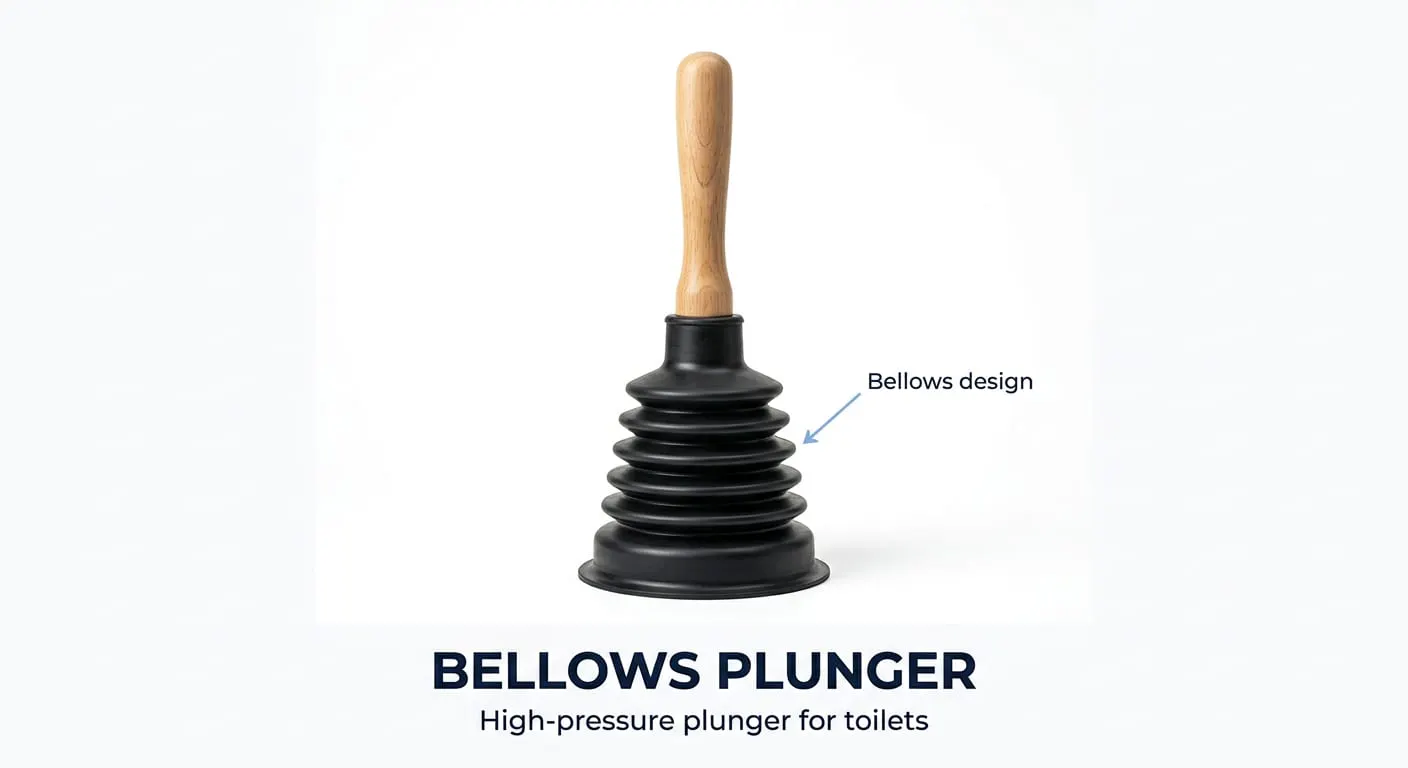
Did you know there are different kinds of plungers? A flat cup plunger is designed for sinks, tubs, and showers. Its flat rubber cup seals against a flat drain surface. A flange plunger has a fold-out sleeve and is designed for toilets, not most flat drains. A bellows plunger creates strong pressure but can be awkward in a sink or tub.
For a bathroom or kitchen sink, bathtub, or shower, use a flat cup plunger. Popular retail examples include basic cup plungers from Korky, Libman, OXO, and store brands. The brand matters less than the seal: the cup must cover the drain opening fully.
A plunger moves water, not air. The rubber cup should be submerged enough to fill with water. In a sink or tub, add water until the cup is covered. If the fixture is already near overflow, do not add more.
Bathroom sinks and tubs usually have an overflow opening. When you plunge, pressure can escape through that opening instead of traveling to the clog. Cover it with a wet rag. In a double kitchen sink, seal the unused basin with a stopper or wet cloth.
Start gently. The first push removes air and fills the cup with water. Once the seal is formed, use 10 to 20 firm, controlled strokes. Violent plunging often breaks the seal, splashes dirty water, and does not improve pressure.
A plunger works best for a blockage near the fixture trap or just beyond it. If the drain shows no movement after a few correct rounds, the clog may be deeper. That is when a hand snake or professional evaluation becomes more appropriate.
If nothing changes, stop. More force is not automatically a better solution.
For a double kitchen sink, you must seal the other basin. If you plunge one side while the other remains open, pressure escapes through the second drain. Fill the clogged side with enough water, plug the other basin tightly, and plunge in controlled strokes.
If you see dirty water move into the second basin, clean it up, reseal, and try again once. If both sides continue backing up, the blockage may be in the shared line or beyond the trap.
For kitchen-specific diagnosis, read Kitchen Sink Drain Clogged: Grease, Food, and What Actually Works.
For a bathroom sink, shower, or tub, remove the stopper or cover. A plastic barbed drain tool can pull out hair and soap buildup that a plunger will not move. Zip-It-style and Drain Weasel-style tools are common examples found online and at hardware retailers.
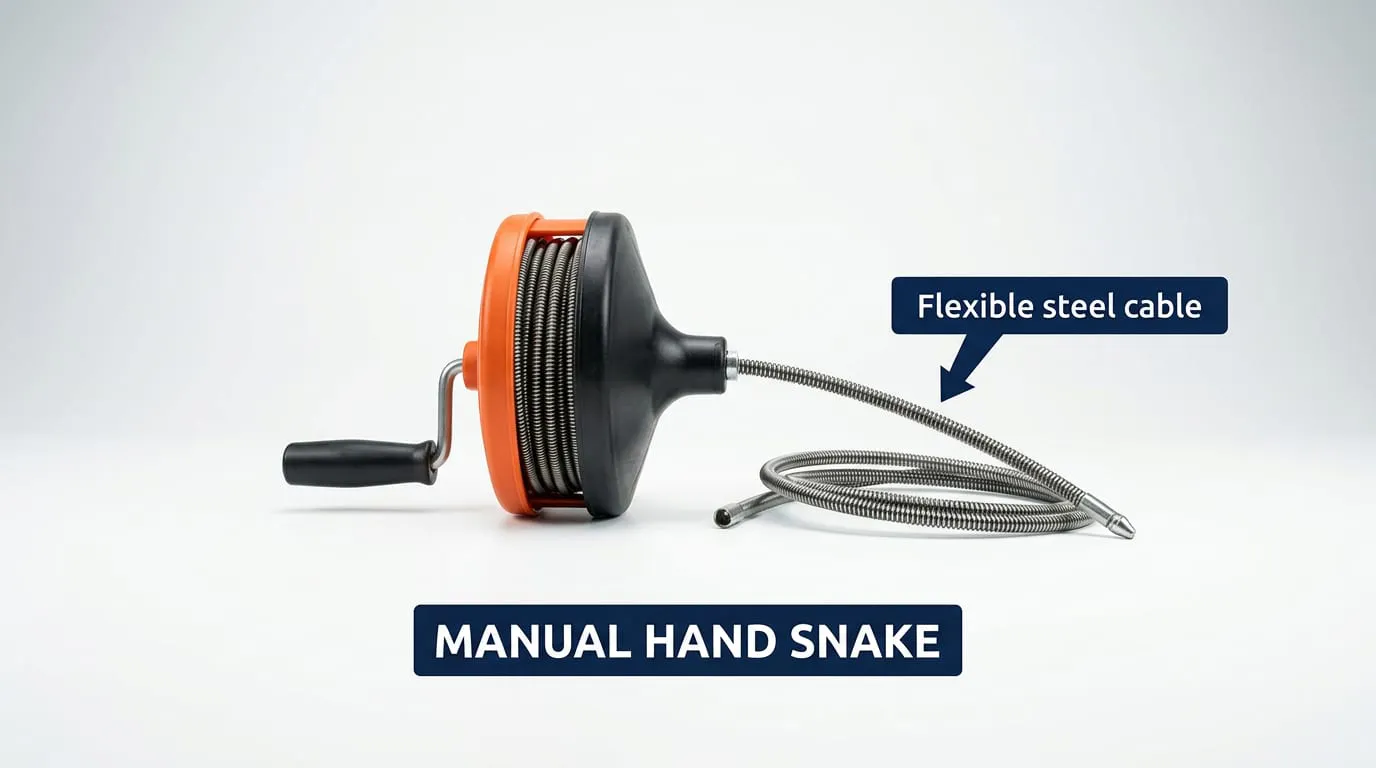
A 15- to 25-foot manual hand snake can reach farther down a sink, tub, or shower line. RIDGID’s EZ Spin and PowerSpin-style products are examples of manual tools marketed for smaller household drain lines; always check the product instructions and pipe-size limits.
Read How to Use a Drain Snake the Right Way before using one.
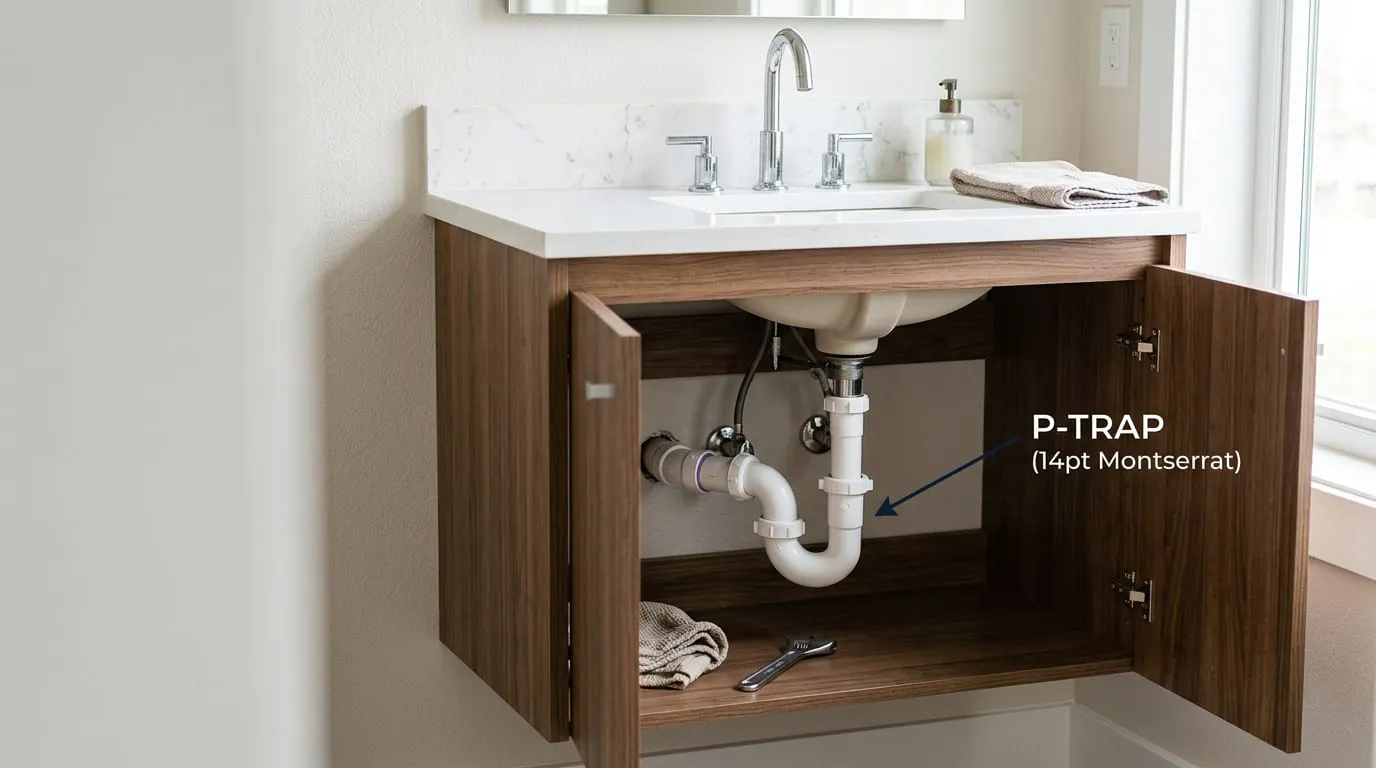
For a blocked kitchen or bathroom sink, the P-trap may be holding debris. Put a bucket below it, avoid this step if chemicals were used, and only remove it if the fittings are accessible and you are comfortable reassembling it without creating a leak.
What you need
Step 1: Clear the cabinet and set up the bucket. Move anything stored under the sink out of the way. Slide the bucket directly under the trap. Most of the water sitting in the trap drains the moment you loosen it, so get the bucket centered before you touch a fitting.
Step 2: Loosen the slip nuts. A P-trap has two slip nuts: one where it meets the tailpiece under the drain, one where it meets the wall or floor pipe. Turn them counterclockwise by hand first. If they won't budge, use the pliers, but go slowly. Plastic nuts crack easily if you force them.
Step 3: Remove the trap and dump it out. Once both nuts are loose, slide the trap down and off. Whatever's caught inside, hair, food scraps, coffee grounds, will empty into the bucket along with the water. Rinse the trap out under running water in a different sink or outside.
Step 4: Clean out what's stuck inside. Run the brush through the curve of the trap to break up grease or sludge clinging to the walls. Check the washers on the slip nuts while you're at it. A cracked or flattened washer is the most common reason a trap that "was cleaned" starts dripping again a week later.
Step 5: Reassemble and hand-tighten. Slide the trap back into place and thread both slip nuts on by hand. Hand-tight is usually enough. If you need pliers to stop a slow drip, give it a quarter turn past hand-tight and stop.
Step 6: Test it. Run water for a minute and watch both connections. A drip means a nut needs another quarter turn or a washer needs replacing. No drip, and water draining faster than before, means the clog is gone.
If a fitting is glued instead of threaded, corroded solid, or too tight a space to fit a wrench, stop and call a plumber instead of forcing it. If the sink is still backing up after the trap is clean, especially in the kitchen, the culprit is more likely grease or food buildup further down the line. Our [kitchen sink clog troubleshooting guide](/blog/kitchen-sink-drain-clogged) covers that.
Retailers commonly stock products such as Drano Max Gel, Liquid-Plumr Hair Clog Eliminator, and other gel formulas. These products are marketed for certain clogs, but they are not a green light to keep escalating chemicals. Read the label, verify compatibility, and do not use a plunger or snake afterward. Drano’s product page specifically warns users to avoid splashing and keep hands and face away from the drain.
Call a licensed plumber when:
This is what HomeFlash is perfect for, identifying when it’s safe to DIY should you want to, or when you should call a pro. Clogged fixture can look simple while the real issue sits deeper in the line. HomeFlash helps you capture what you see, answer a few useful questions, and choose a more informed next step before you spend time or money in the wrong direction. We want the modern homeowners to feel confident in every decision they make. If you want to fix something yourself, great, we’ll tell you how to do it. Not feeling comfortable and would rather hire someone? That’s fine too, here are some pros in your area that we recommend. Our goal is not to tell you what to do one way or the other, we just want to give you all the necessary information to make a decision, then provide you with all the necessary resources you need to make the process seamless.
Return to the complete drain unclogging guide, or continue to How to Use a Drain Snake the Right Way.
More plain-English repair guides from the HomeFlash library.

How to Unclog a Toilet Without a Plunger
No plunger? No problem. Here are 5 proven ways to unclog a toilet using stuff you already have at home, step by step.
Sep 30, 2026
Learn more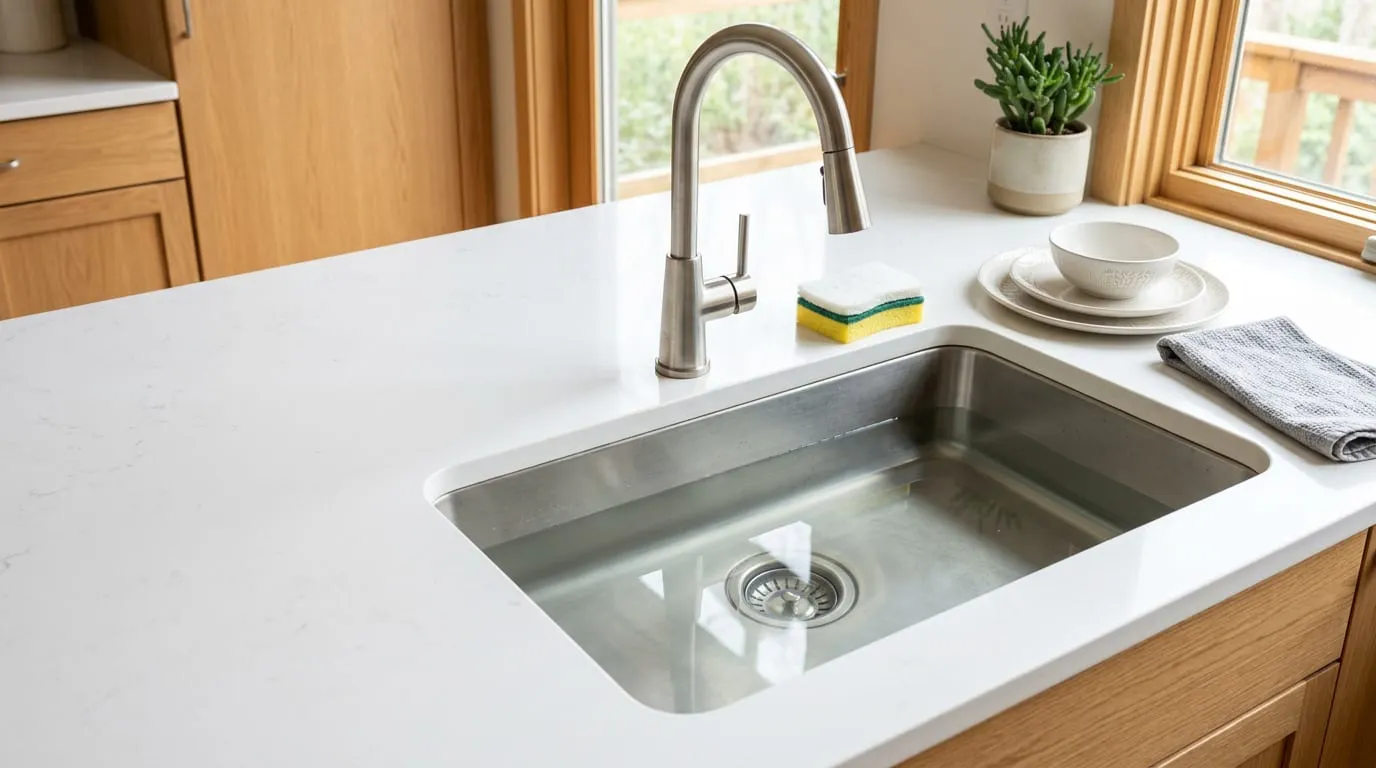
Kitchen Sink Drain Clogged: Grease, Food, and What Actually Works
Kitchen sink clogged? Learn how to clear grease and food buildup safely, when to clean the P-trap, and when a plumber is the smarter call.
Sep 30, 2026
Learn more
Bathtub Drain Clogged? Before You Call a Plumber, Try This First
Bathtub drain clogged? Start with this hair and soap-scum removal checklist, use the right tools safely, and know when a plumber is necessary.
Sep 30, 2026
Learn more
Baking Soda and Vinegar for Drains: Does It Actually Work?
Can baking soda and vinegar unclog a drain? Learn what this DIY method can help with, what it cannot fix, and safer options for real clogs.
Sep 30, 2026
Learn more